
This Tutorial is now available as a PDF Downloadable Pattern for Only $2.00 at Craftsy.com -- Plastic Bag Dispenser.


Supplies:
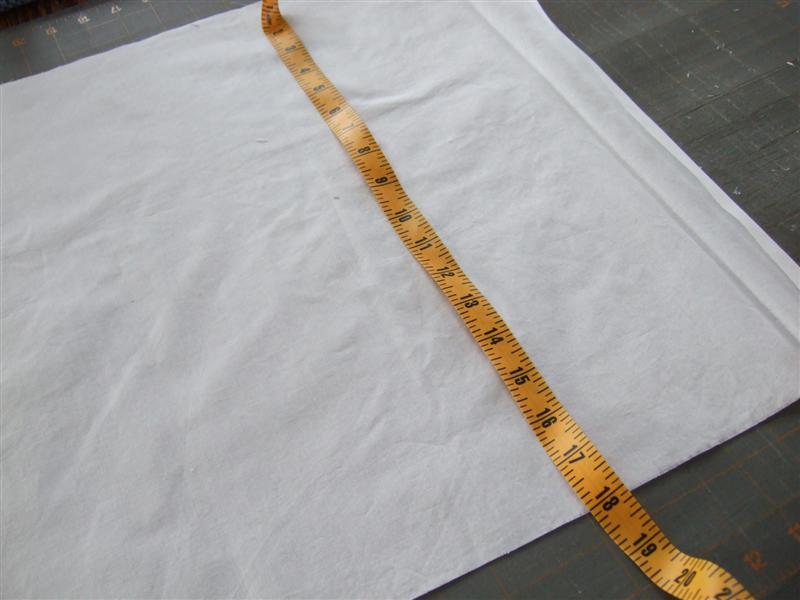
one piece of fabric 28" X 18"


Then press/iron 1 1/2 inch for the top hem and bottom casing.


Press/iron the outside of the seam flat so you can seam it again on the other side. We are going to create a french seam, so there are no raw edges.

If you look closely you can see the first seam under the presser foot. Stitch with a 3/8 inch seam allowance so the seam encases the raw edges of the other seam inside.


Turn right side out.


Notice there are no raw edges inside the bag at the seam allowance.

Strap - Press under both ends 1/4 inch.

Press/iron in half with the pretty side of the fabric together.

Stitch the raw edges with a seam allowance of 1/4 inch the length of the strap. Do not stitch the ends. Leave them un stitched and open.


Turn inside out using a safety pin.


Stitch the strap to the bag as shown in the photos.


The bags make great gifts, as we all reuse and recycle.
Enjoy your day!
Marcia
Linked with:
Life In Pieces: 15 Minute Challenge - Oct. 25, 2011
Today's Creative Blog: Get your Craft On Tuesdays - Oct. 25, 2011
My Uncommon Slice of Suburbia: Tuesday's Treasures - Oct. 25, 2011
Somewhat Simple: Strut Your Stuff - Oct. 27, 2011
The Thrifty Groove: Thrifty Things Friday - Oct. 26, 2011
At Picket Fence: Inspiration Friday - Oct. 27, 2011
2805: Potpourri Party #9 - Oct. 27, 2011
Stuff and Nonsense: fridays unfolded - Oct. 27, 2011
My Re Purposed Life: Catch as Catch Can # 50 - Oct. 27, 2011
RoCa and Company: You ROCK #7 - Oct. 28, 2011
Homemaker in Heels: Weekend Craft Soiree and Blog Hop - Oct. 28, 2011
Sew Chatty: Made with Love #50 - Oct. 31, 2011
Canoe Ridge Creations: Sew Modern Monday - Oct. 31, 2011
Sew Happy Geek: Manic Monday Linky Party- Oct. 31, 2011
Coastal Charm: Nifty Thrifty Tuesday - Nov. 1, 2011
Chef in Training: Talent Show #10 - Nov. 1, 2011
Idea Room: Linky Party #5 - Nov. 3, 2011
8 comments:
Marcia - wonderful tutorial. I really need one of these as I just stuff them all in one bag and then fight with them when I need one. You have motivated!
Now on my to do list...in boys colors as we use them instead of a diaper pail...hopefully won't need to for long though!
This is going on my to-do list too. I have a ton that need a pretty home (& to free up a drawer) because I use them instead of buying trash bags. :) Thanks for the tutorial!
I love these. I have one in the pantry and one in the bathroom upstairs for the small trash can. They are so handy
Very hand dispenser! Thanks for the tutorial. I appreciate you linking this idea to Potpourri Friday. Many thanks!
I have one of these. :) I reuse my bags for scooping (cats)
great tute!
gail
Great tutorial Marcia! I have been looking for herb themed fabric to make a couple of these for our booth at the Farmer's Markets. Thank for sharing with all of us at TTF and happy Novemember 1st!
How fun! :) Thanks for linking up to {Sew} Modern Monday and have a great week!
Post a Comment