Wednesday, May 31, 2017

" May I " for the May Off Season Project Quilting Challenge!

I needed to make a baby quilt this month for a special couple. I decided I could make it work for the "May I"  Quilt Challenge, but what I did not know, is that it would fit perfectly! 

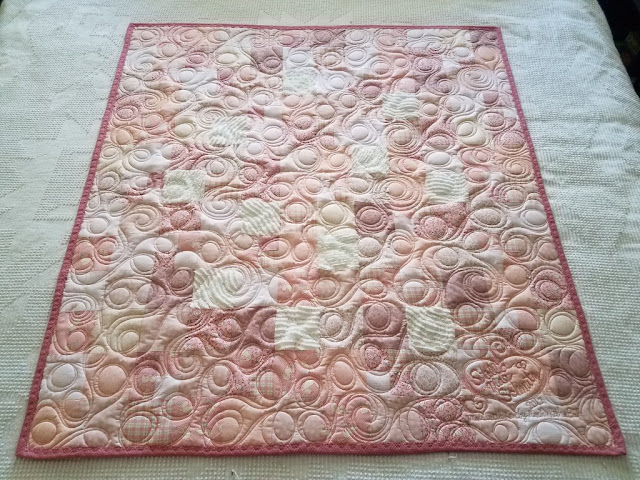
The couple is having a girl. I gathered my pink new and vintage fabrics and some vintage chenille fabric to add a soft texture to the quilt. I cut them into 3 1/2" squares and 2 inch squares to make some 4 patches. I had in mind spring flowers when I selected the soft pink fabrics.


It is ready to quilt!


I started longarm quilting with loops and swirls.


Then I quilted it again, following the loops and swirls to give it a ribbon effect.


I added a heart where I will add the name of the baby.


I zipped it off my quilting machine until I can get the name of the baby from the couple....


I selected to use double batting to give it more fluff as I want this quilt to be quilt to lay on the floor for tummy time. (Poly batting on the top and 80/20 batting on the bottom)


I found out the baby's name this weekend, so Tuesday I zipped it back on the rollers to stitch in the name.


Stella Mae Schmitz!   See it fits the "May I Quilt Challenge" perfectly!


I took a few extra photos in lighting at different times of the day.


My daughter says my granddaughter loves the textures of the soft chenille and the stitching on her quilt. Plus they love that I added the double batting for extra fluff!


The backside is a super soft Moda flannel!


I am linking up over at Persimon Dreams for the "May I Quilt Challenge" for Project Quilting.

I love the quilt challenges! 

I am sponsoring the Off Season Challenges for Season 8 with prizes of a PDF Pattern for each entry.  Everyone who enters will send an email me and select a pattern from my Craftsy Store and I will email it to them directly.

Each month, Project Quilting will have another quilt challenge. 

Try it you will LOVE it!

Be inspired to create!

Check out all the entries and information about the quilt challenges at Persimon Dreams (Project Quilting).

Enjoy your day!

Marcia

Thursday, May 18, 2017

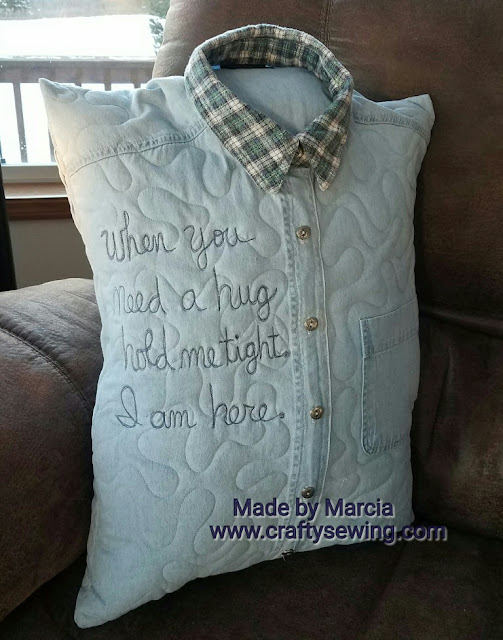
How to Make a Quilted Memory Pillow (With a Collar Pillow)

Yesterday, I shared a "How to Photo Tutorial" on making a Quilted Memory Pillow without a collar.

Today, I am sharing how I made my Quilted Memory Pillow with a Collar.


I said this yesterday: 
When I am making something, I take several photos of the construction, instead of writing it down, because I am a visual learner. I need to see it! 


Sometimes I get so caught up in the process of making it, I forget to take photos of each step. I want to share how I make my Quilted Memory Pillows, but it will be all in photos - no words (maybe a few) and I may have missed a few photos, but I am sure you will be able to figure out how to make the quilted memory pillow.


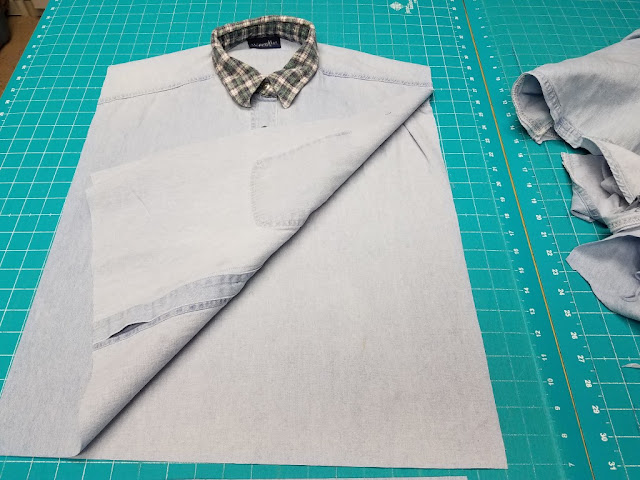
I cut the shirt arms and seams off and trimmed it so the front and back were similar size, but I left the shirt attached at the shoulders. 

Using my regular sewing machine, I stitched the front placket closed, using a zipper foot, so I could stitch on the placket and not hit the buttons. 


I cut a large circle from another part of the shirt and used it in the neck hole by the collar to fill in that space. I used lots of pins to hold it in place as I stitched it. It's a little tricky to do.


You can see in this photo, how I stitched around it just below the plaid collar to hold the circle in place. 


I decided to leave the tag on the collar too. 


Then I brought the shirt to the quilting machine to quilt it. It is kind of awkward as the collar is bulky.


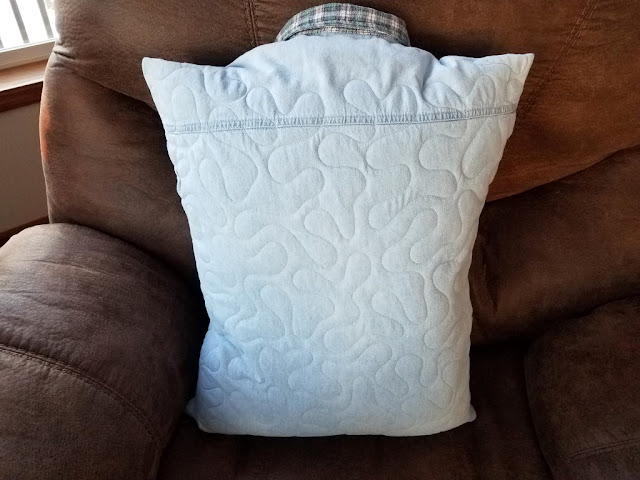
You can see how I quilted up and around the collar. I know it stands up, but it will get stuffed later.


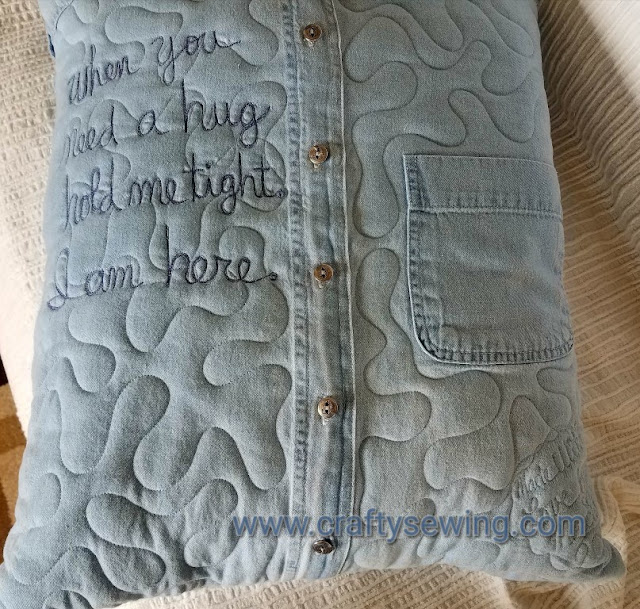
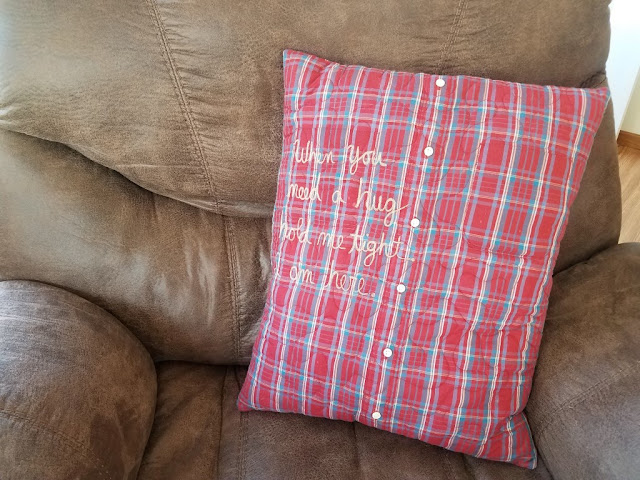
Here is the link to the video on how I quilted the lettering for the message. 


A short video sharing how I quilted (thread painted) the lettering on the #memoryshirtpillow. 


This way it looks like embroidered lettering.


I trimmed it to get it ready to sew into a pillow, but first I had to do a little adjusting and trimming behind the collar, up underneath, so that I could stuff the Poly Fiber Fill in there.


Sorry, no photos of sewing it together. I forgot to take a photo.  After I stitched the pillow on all 4 sides (leaving an opening for turning), I turned it right side out and I hand stitched the bottom opening closed.


There are many memory shirt pillows out there, but I wanted to make it unique by quilting it and by thread painting for the wording.  


My friend, Thankful helped with the wording, the construction idea and we made it work! 


Yes --- I take custom orders on my website at Quilted Memory Pillow.


Quilted Memory Pillows make great gifts for loved ones.


Enjoy your day!

Marcia

If you don't sew or quilt and you are reading this, you can order one from me! Quilted Memory Pillow

Wednesday, May 17, 2017

How to Make a Quilted Memory Pillow (No Collar Pillow)

When I am making something, I take several photos of the construction, instead of writing it down, because I am a visual learner. I need to see it! 

Sometimes I get so caught up in the process of making it, I forget to take photos of each step. I want to share how I make my Quilted Memory Pillows, but it will be all in photos - no words (maybe a few) and I may have missed a few photos, but I am sure you will be able to figure out how to make the quilted memory pillow.

If you don't sew or quilt and you are reading this, you can order one from me! Quilted Memory Pillow

Today, I will share the photos of the no collar pillow and tomorrow I will share the photos of the collar pillow.

Of course, I cut the shirt into 2 pieces. 

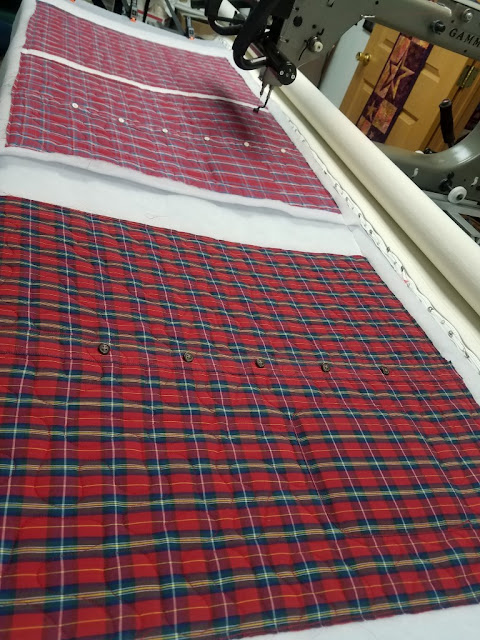
Using my regular sewing machine, I stitched the front placket closed, using a zipper foot, so I could stitch on the placket and not hit the buttons.  

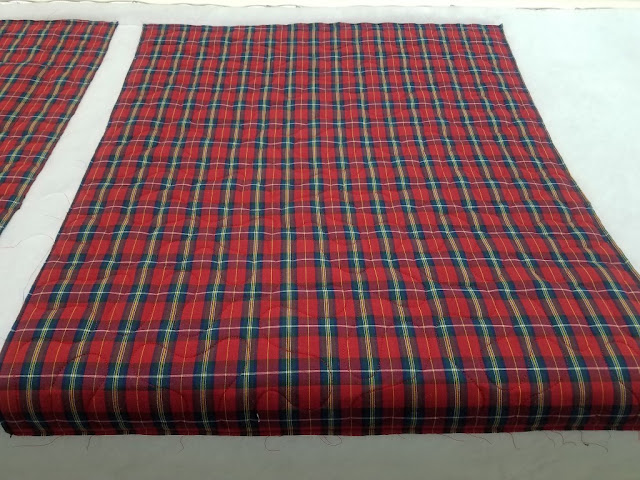
Then I brought the shirt pieces to the quilting machine to quilt them. 


I made 2 memory pillows at the same time.


I stitched around the pocket. I wanted to leave it as an open pocket. Messages or notes could be put in the pocket.


I missed taking a photo here.  I took them off my quilting machine and trimmed them. I placed them front to front and stitched them together to make a pillow and turned it right side out through an opening I left in the bottom.


Next, I stuffed them with Poly Fiber Fill and hand stitched the bottom closed.


Quilted Memory Pillows make great gifts for loved ones.

Stayed tuned for my next post .... (tomorrow)


Enjoy your day!

Marcia

If you don't sew or quilt and you are reading this, you can order one from me! Quilted Memory Pillow